
From the last session added a piece of MDF to the top of the bearing guide block.
From the last session added a piece of MDF to the top of the bearing guide block.
Continued with the blade guides.

From the last session this is where I left things.
Needing some more 608 bearings went into Kmart for another skateboard and was pleasantly surprised, they had the larger 31” board on sale for $15.

Also got some Loctite Super Glue, have immediate need for that to bond the threaded rod with the lock knob that’s part of the clamp assembly of the sliding guide arm.
Also got some cheap quality hose clamps from the $2 shop to lock the wheel shafts. A bit peeved that they came around at ALDI not long ago and I didn’t grab two box’s – next time.
This is another interesting stage where we can start planning to setup a temporary table and begin construction of the upper blade guides.

Even with a temporary table I still need to know where the blade position will be so I can make the blade access cut on the table saw. So the first thing is to mount the blade, and make sure tension and alignment are correctly set.
With the basic blade guide arm setup and before we start making the actual blade guides we need to make ready a temporary table and put that aside for now.
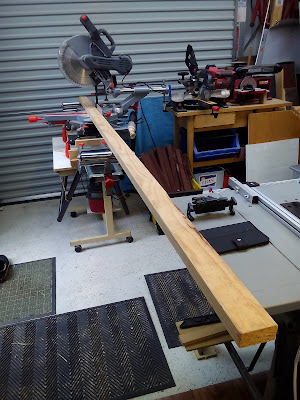
Running out of off cuts so got down a 2400mm length from my stock of MG10 pine.
From the last session we are going to cut out the ‘throat’ so we can mount a temporary table which will be replaced later on with a final version.

After this we’ll get back to the blade arm, working down to something I like making – blade guides.
Back again after lunch to fit and epoxy the lock knob nut.

After marking out carefully chisel out to recess the nut into the knob.


